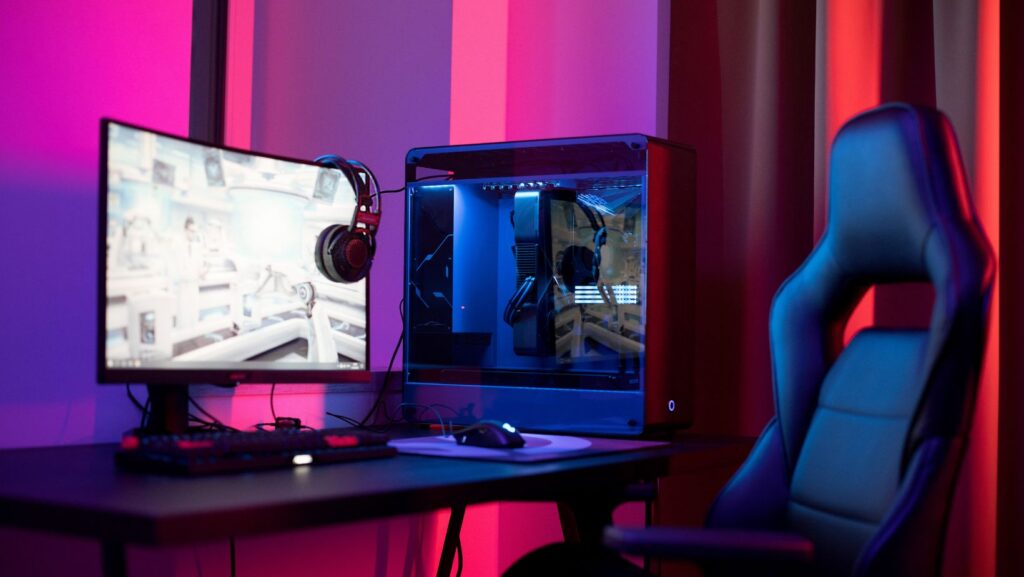
Your game room is a sanctuary of entertainment, relaxation, and fun, but moving all the delicate and heavy equipment can be overwhelming. Whether you’re relocating to a new home or simply redesigning your current space, ensuring your gaming consoles, arcade machines, and collectibles make it to their new location safely requires careful planning. With the right strategy and tips, you can move your game room like a pro—and without the stress.
Here’s a guide to making the process smoother, ensuring your beloved game room is set up and ready to go in no time.
Start with a Clear Plan
Moving a game room requires more than just packing up and shipping your gear, and it’s important to have a clear plan of action to avoid any surprises. Start by taking an inventory of everything in the room, from consoles and accessories to furniture and décor. This will give you a full picture of what needs to be packed, organized, and transported.
Consider measuring your new game room space to ensure your furniture, arcade machines, and entertainment setup will fit. This helps you visualize where everything will go once you arrive at your new location, making setup much easier.
Protect Your Consoles and Gaming Equipment
Your gaming consoles, arcade machines, and entertainment systems are valuable investments that require careful handling during the move. Protect your equipment by wrapping each item in bubble wrap or padded blankets to prevent damage during transportation. Use sturdy boxes that are large enough to fit the equipment comfortably without allowing too much movement.
For fragile items like monitors, TVs, or large gaming screens, consider using specialized moving boxes designed for electronics. These boxes provide extra protection for delicate screens and components.
If you’re moving heavy or bulky items like arcade machines or gaming tables, you might want to consider professional movers or equipment shipping services that specialize in safely transporting such equipment.
Disassemble Furniture and Large Items
Many game rooms include larger furniture like gaming chairs, desks, or entertainment units that can be difficult to transport in one piece. Disassembling these larger items before the move can make the process easier and prevent damage.
For gaming desks and chairs, remove any detachable parts, such as chair legs, backrests, or desk tops. Place all screws, bolts, and small components in labeled plastic bags and tape them to the main pieces to ensure nothing gets lost during the move.
When disassembling items, take photos of the setup before you start. This makes reassembling everything in your new game room much quicker and stress-free.
Pack Your Collectibles with Care
If your game room includes collectibles, memorabilia, or valuable figurines, these items need special care when packing. Wrap each item individually in bubble wrap or soft cloths to protect them from scratches or breaks. Place fragile items in boxes lined with packing peanuts or foam for extra cushioning.
For delicate items, such as limited-edition collectibles or rare gaming merchandise, consider using hard-shell cases or reinforced boxes to add another layer of protection. If your collection is particularly valuable, you may want to insure the items for the move.
Secure a Safe Transport Method
Choosing the right transportation for your gaming gear is essential to ensure everything arrives safely. For larger or high-value items, consider using a professional moving company or equipment shipping service to handle the heavy lifting. Shiply pool table moving is a service that offers specialized transportation for bulky or delicate items, such as pool tables, arcade machines, gaming furniture, or large electronics.
If you’re moving everything yourself, make sure you have the right vehicle and packing materials. Use moving blankets to cover large items, and ensure everything is securely strapped down to prevent movement during transit.
Prepare for a Smooth Setup in Your New Space
Once your gear is safely moved, it’s time to set up your game room in your new location. Before plugging in your consoles and equipment, ensure that all cables are untangled and organized. Use labeled tags to help reconnect your devices to the correct ports and inputs.

Take time to position furniture, screens, and accessories where they’ll create the best gaming experience. Consider factors like seating distance from the screen, lighting, and sound acoustics for the optimal setup.
If you’re upgrading your game room, now is also a great time to add new features, such as improved lighting, soundproofing, or a larger display.
Test Everything Before Settling In
After setting up your game room, test all your equipment to make sure everything is functioning correctly. Power on your consoles, check the connections, and ensure that your sound system and screens are working properly. Testing your setup early will help you troubleshoot any issues and ensure that your game room is fully operational for your next gaming session.
Conclusion
Moving your game room can be a complex task, but with careful planning and organization, you can do it like a pro. By protecting your equipment, organizing cables, and securing the right transportation, you’ll ensure that your game room arrives safely and is ready for action in its new space. With everything in place, you can relax and enjoy your gaming experience without the stress of a chaotic move.


