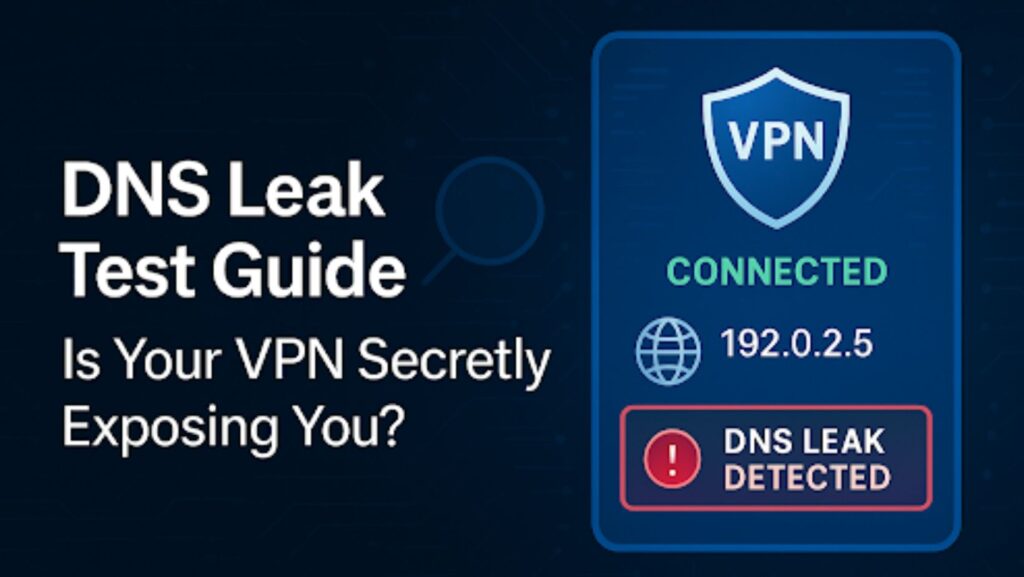
Even with a VPN turned on, your real location and identity could still be leaking through the cracks — thanks to something called a DNS leak.
Freelancers and remote workers often rely on VPNs to protect sensitive data and keep browsing private. But if your DNS requests aren’t properly routed through the VPN, they might be sent straight to your internet provider — compromising everything you’re trying to shield.
This guide will explain what a DNS leak is and how it puts your privacy at risk. It will also walk you through step-by-step instructions to test your VPN and fix any leaks you find using free, reliable tools.
What Is a DNS Leak and Why It Matters
Understanding DNS and VPNs
To get why DNS leaks are a big deal, you first need to know how DNS (Domain Name System) works.
Think of DNS as the internet’s phonebook. When you type a website like xvpn.io into your browser, DNS servers translate that human-friendly domain into an IP address like 123.45.67.89, which computers use to communicate.
When you use a VPN (Virtual Private Network), the goal is to encrypt all your traffic — including DNS queries — so your Internet Service Provider (ISP) or snoopers can’t see what websites you’re visiting.
How DNS Leaks Compromise Your Privacy
A DNS leak happens when your system sends DNS requests outside the encrypted VPN tunnel, usually straight to your ISP’s DNS servers. That means:
- Your ISP can still see and log the websites you visit
- Your real IP address or location could be exposed
- Third parties might track your online behavior even though you’re using a VPN
This defeats the purpose of having a VPN in the first place — especially for remote workers handling sensitive tasks and client data or simply trying to stay off the radar in high-censorship regions.
Signs You Might Be Suffering from a DNS Leak
A DNS leak isn’t always obvious — your VPN might appear to be working fine. But there are a few telltale signs:
1. You’re Still Seeing Targeted Ads from Your Real Location
If you’re using a VPN server in Switzerland but keep getting ads for local cafes in Mexico City, your DNS traffic might be bypassing the VPN tunnel.
2. IP Address Shows Correctly, but You’re Still Exposed
Tools like “whatismyip” may show your VPN IP correctly — but your DNS queries could still be leaking your true geolocation or ISP data.
3. You’re Using a VPN That Lacks Built-in Leak Protection
Not all VPNs are built equal. Some budget or free VPNs don’t offer DNS leak protection — or require you to enable it manually.
How to Perform a DNS Leak Test
The good news? Testing for DNS leaks is fast, easy, and free. You don’t need to install anything.
Step 1: Use an Online DNS Leak Test Tool
Here are the most trusted, privacy-first DNS leak test sites:
| Tool | URL | What It Offers |
| DNSLeakTest | “Dnsleaktest” + “.com” | Standard + extended tests |
| IPLeak | “Ipleak” + “.net” | DNS + WebRTC leak check |
| BrowserLeaks | browserleaks.com/dns | Advanced DNS info |
| X-VPN Test Tool | xvpn.io/dns-leak-test | Fast, secure leak detection |
Pro Tip: Always test before and after connecting your VPN.
Step 2: Interpreting the Results
- Safe: The only DNS servers listed should be from your VPN provider or unknown locations, not your ISP.
- Leaking: If you see DNS servers linked to your real-world ISP or region — you’ve got a DNS leak.
What to Do If You Find a DNS Leak
Finding a DNS leak isn’t the end of the world — but ignoring it could be.
Here’s how to fix it step-by-step:
1. Check VPN App Settings
Most premium VPNs have built-in leak protection. Make sure these options are enabled:
- DNS Leak Protection
- Kill Switch (to block traffic if VPN drops)
- IPv6 Leak Protection
Not seeing them? Time to upgrade your VPN.
2. Change Your DNS Settings Manually
If your OS is using system default (ISP) DNS, you’ll need to override that.
On Windows/macOS/Linux:
- Set your DNS to 1.1.1.1 (Cloudflare), 8.8.8.8 (Google), or your VPN provider’s private DNS servers.
On routers:
- Access your admin panel → Network Settings → Replace DNS with secure alternatives.
3. Use a Trustworthy, No-Log VPN
If your current VPN keeps leaking — and doesn’t offer solid protections — consider switching to a more secure provider.
Recommended Features in a DNS-Safe VPN:
- DNS leak protection enabled by default
- Encrypted DNS (DoH or DoT)
- Verified no-log policy
- Independent security audits
How to Prevent DNS Leaks in the Future
Now that you’ve plugged the hole let’s make sure it doesn’t happen again.
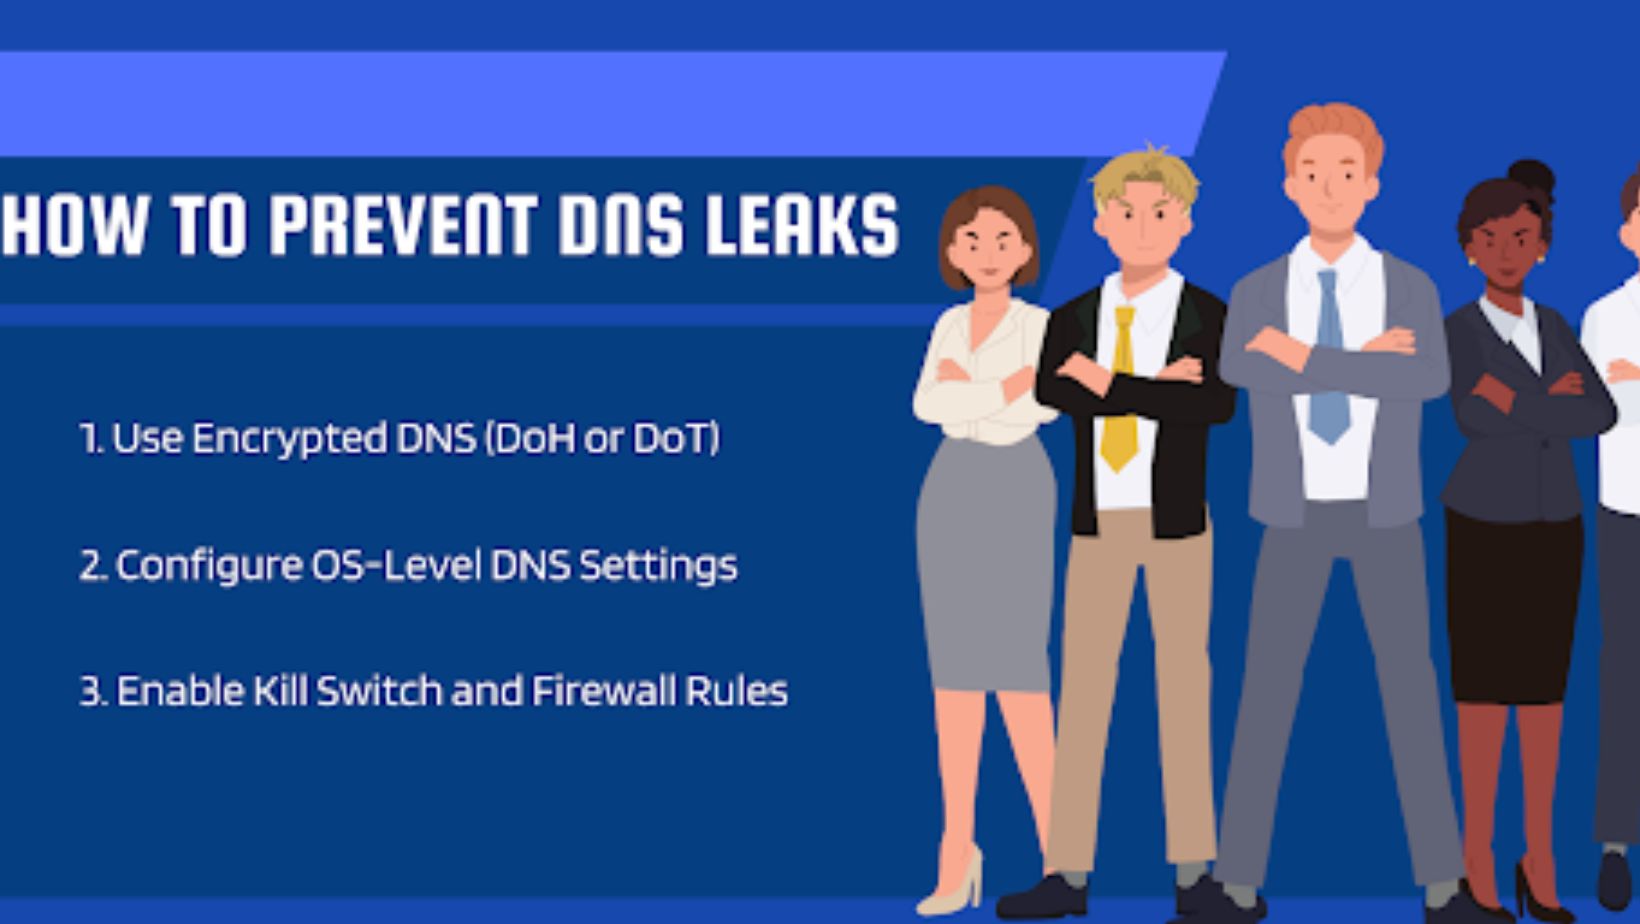
1. Use Encrypted DNS (DoH or DoT)
- DNS over HTTPS (DoH) or DNS over TLS (DoT) adds an encryption layer to DNS requests.
- Use tools like Cloudflare’s 1.1.1.1 app or configure it directly in your OS.
2. Configure OS-Level DNS Settings
Even with a VPN, your operating system might use default DNS settings unless overridden.
- On Windows: Go to Network Settings → Adapter Options → IPv4 Settings → Manually enter DNS servers
- On macOS: System Settings → Network → Advanced → DNS
3. Enable Kill Switch and Firewall Rules
Your VPN should:
- Block traffic if the connection drops
- Prevent any fallback to the default network interface
Some VPNs let you integrate with firewall rules or set app-level exclusions for total control.
Final Thoughts: Testing Your VPN Shouldn’t Be Optional
Using a VPN is a great step toward securing your remote work — but without running a DNS leak test, you’re only halfway protected.
Leaks happen silently and can undo all the benefits your VPN promises. Thankfully, a quick test and a few adjustments are all it takes to lock down your DNS privacy.
Take a minute, run the test, and make sure your VPN isn’t leaving the back door wide open.


